

INTRODUCTION
Welcome back for Part 2 of my sci-fi cover tutorial! If you haven’t caught up already, hop on over to Part 1 here.
In this session, we’ll learn how to paint a nebula using/galaxy in Photoshop and give a metallic effect to text. Without further ado, let’s begin!
THE STEPS
At the end of Part 1, you should have something that looks like this, which I’ll refer to as the “mock base” from now on:
- Go ahead and google “nebula brushes photoshop” and you’ll find a HUGE selection of downloadable brushes. You can also get brushes directly from Adobe PS. Some brushes cost money to download, but a good amount are also free. I personally like to use Brusheezy.com.
For this particular project, I used a set of brushes called galaxies_bySunrina (unfortunately I can’t find the link to the original download page). After saving the brush file to my desktop, I imported it into Photoshop.

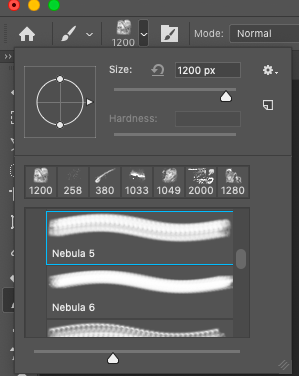
3. Now comes the fun part! Select one brush, pick a galaxy-color (I used green, purple, and blue), set your brush to the proper size and orientation, and apply it to your cover!
To adjust brush orientation and size, simply click on the drop down arrow in the upper left hand corner beside the preview of your brush selection. I generally had my brushes set to size 1000-1300. Click on the little arrow beside the circle and drag it to rotate the brush stroke.
Repeat this step a couple times until you have the desired nebula/galaxy look on your cover. I used 3-4 different nebula brushes, making sure to always rotate the brush to a different position if I’m using the same brush more than once. I also mixed up the colors.
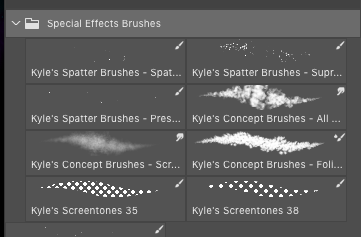
Finally, I wanted to add in some stardust, so I downloaded a splatter brush set, set the color to white, and sprinkled in some stars.
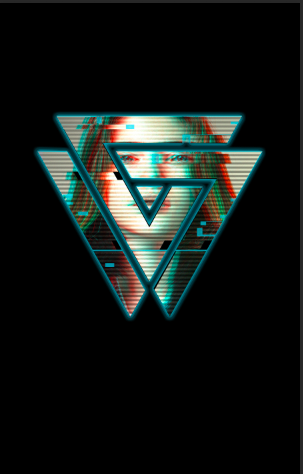
At the end, you should have something that resembles this:

4. Now, for the text! Photoshop has an amazing selection of fonts, but if none satisfy you, go ahead and search online for more! Again, some you might have to pay for, but there is also a huge selection of free fonts available. DaFont.com is a wonderful site for fonts.
If you end up downloading fonts, here is how to import them into Photoshop.
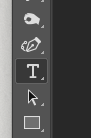
In Photoshop, click on the “text” button on the left sidebar. You should then be able to create a text box and type in the words. Use the text customization at the top of the window to adjust font type, size, color, bold/italics/etc.
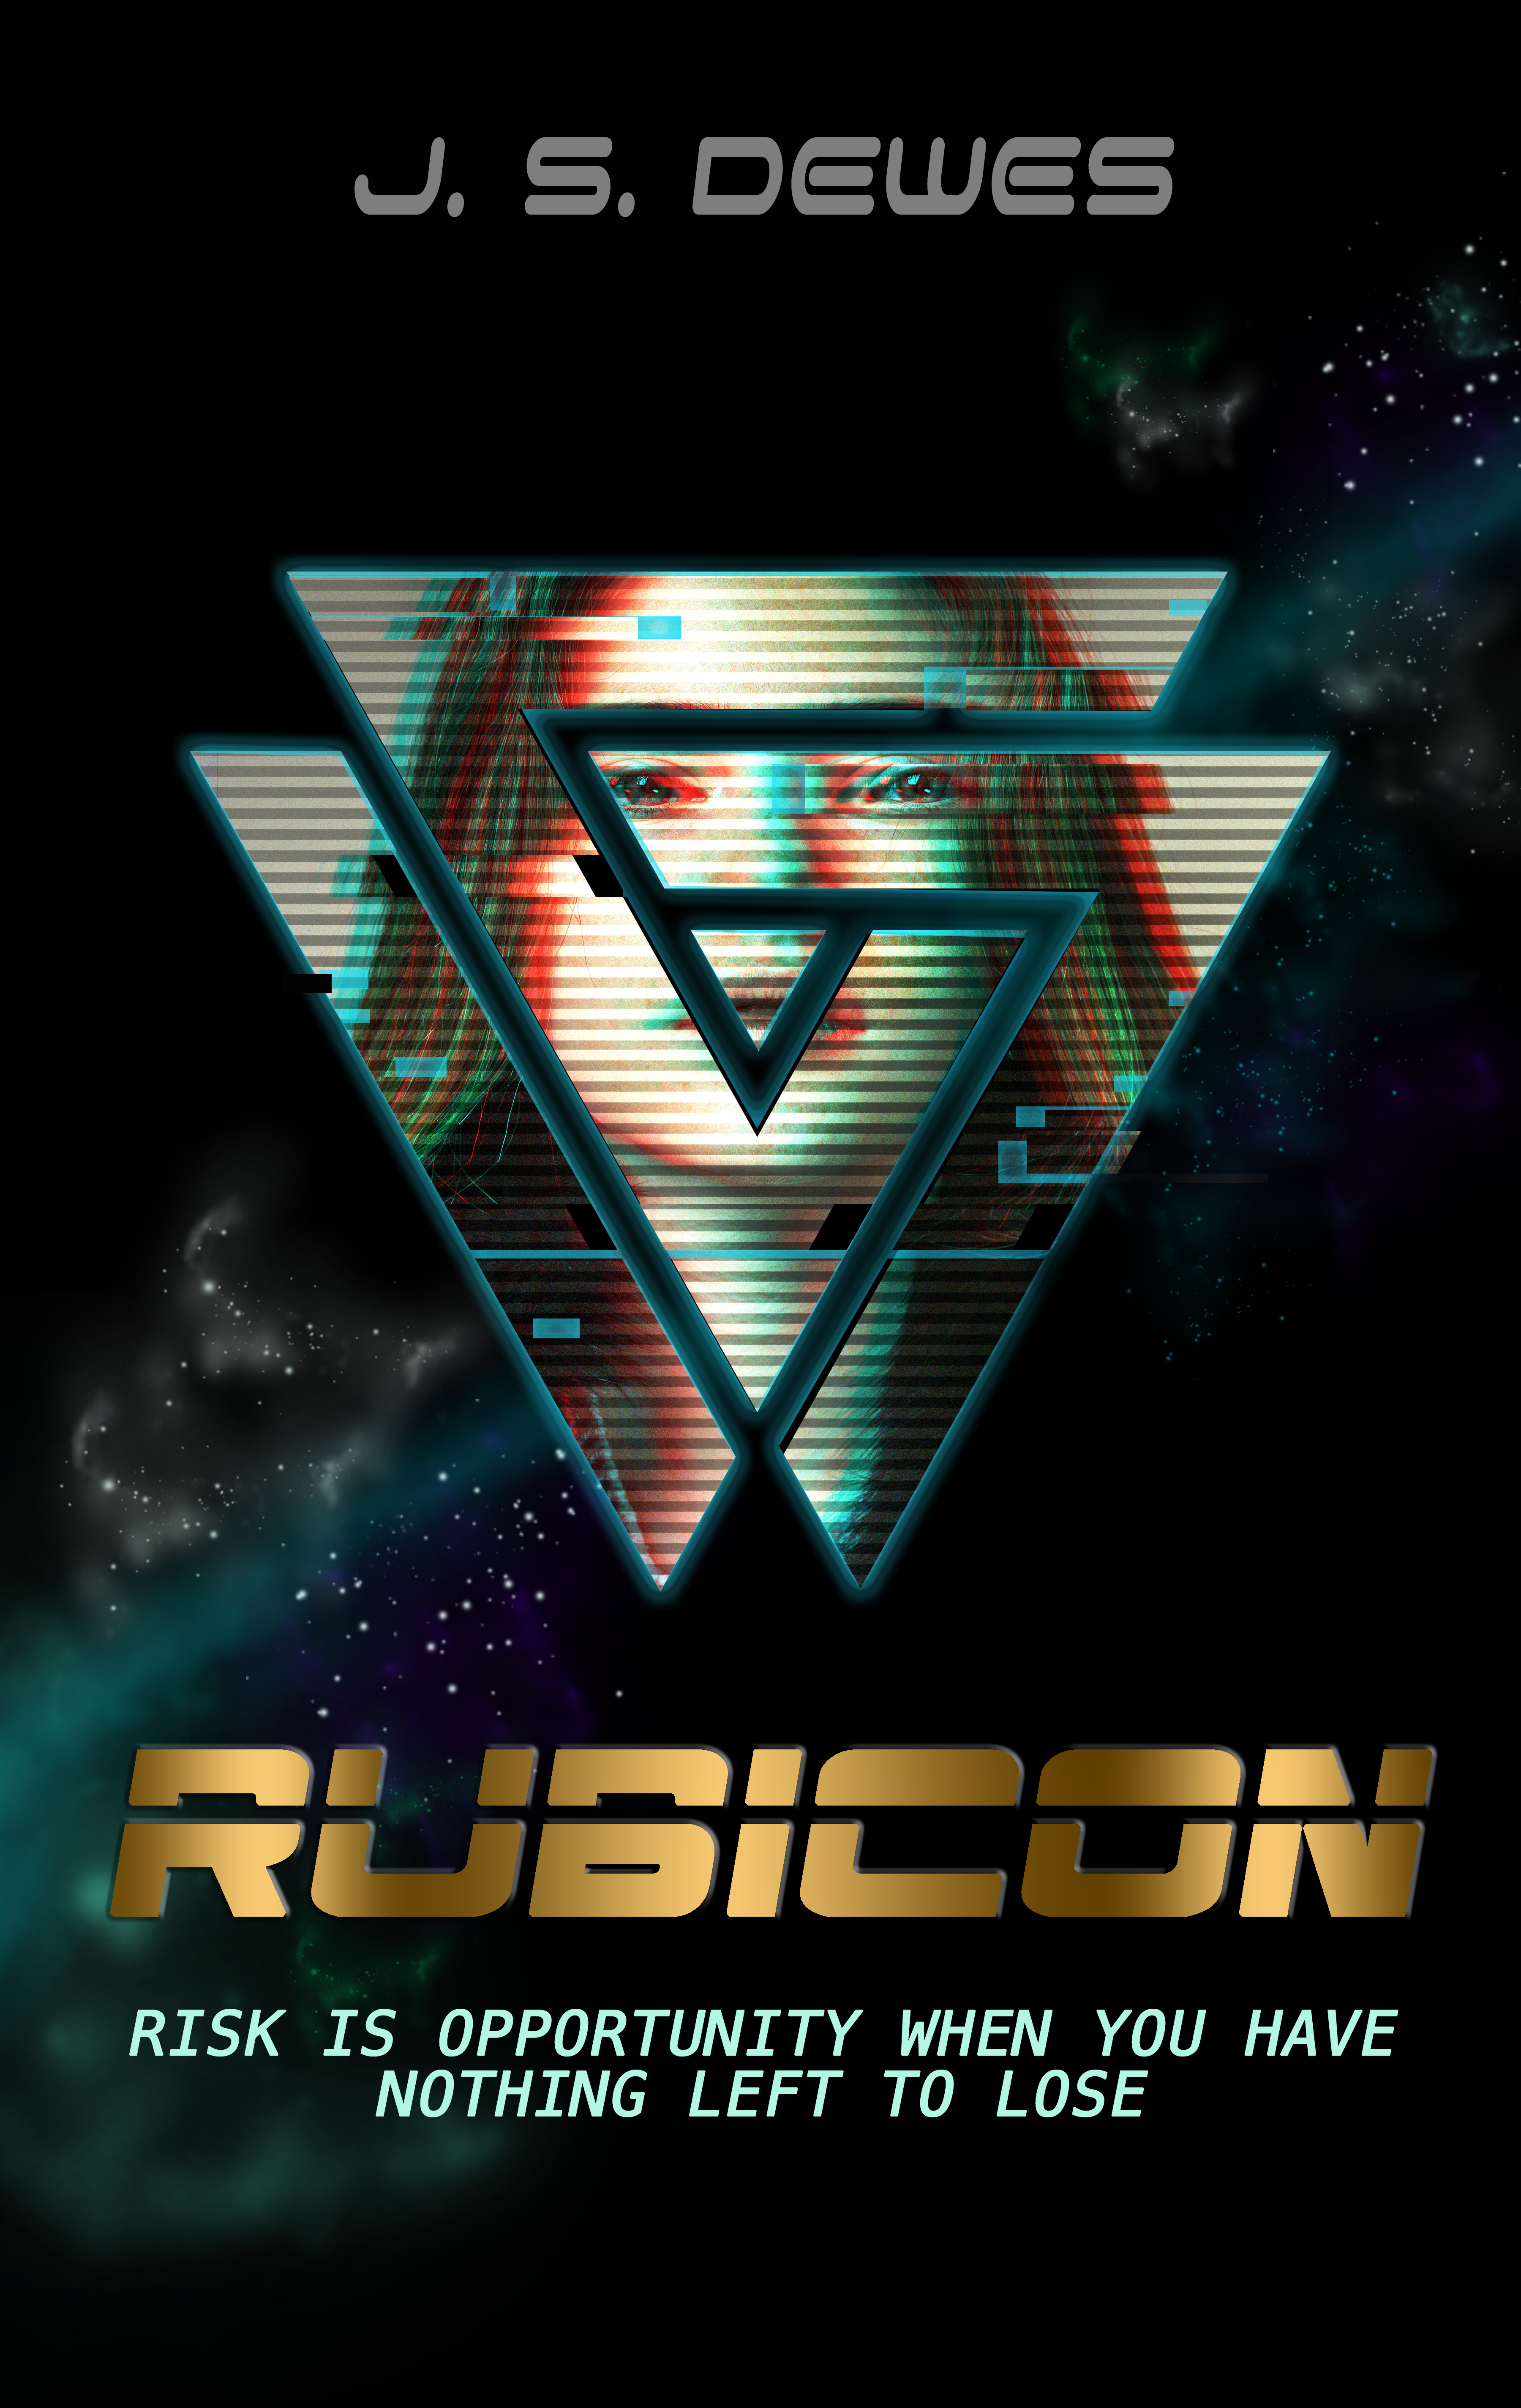
Keep in mind, for the gold effect to work best, the brush strokes of the font should be thick and bold (as you can see in my RUBICON font selection).

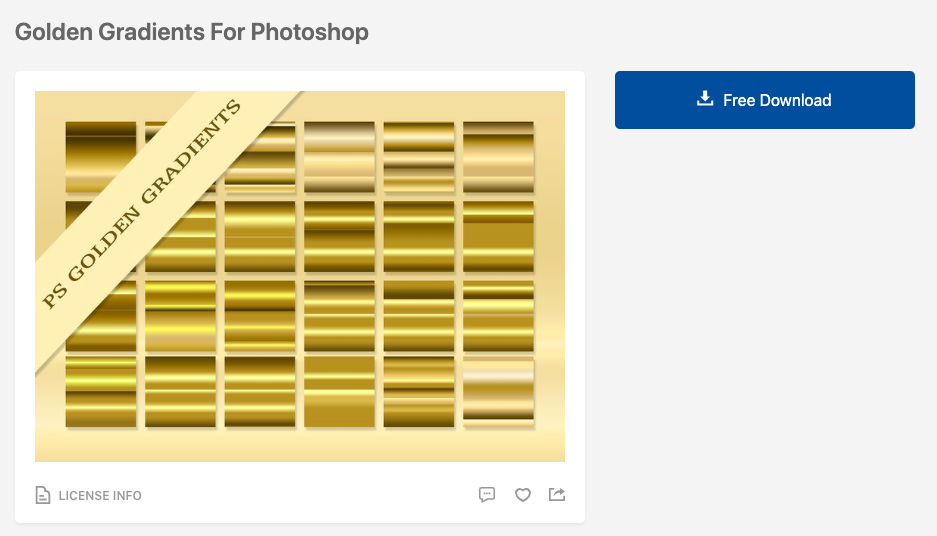
5. Next, download a metallic gradient. Again, this can be done as simply as googling “metallic gold gradient photoshop”. This was the gradient package I downloaded. And remember, you can choose bronze, silver, or any other type of gradient you want!
Import your gradient into photoshop by following these steps.
6. Select the layer containing the text you plan on applying the gold effect to.

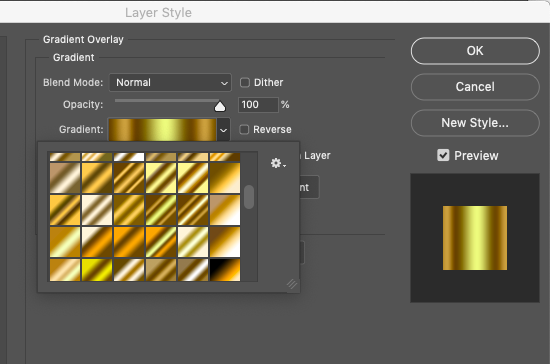
7. Click on the “fx” button near the bottom and select “gradient overlay”

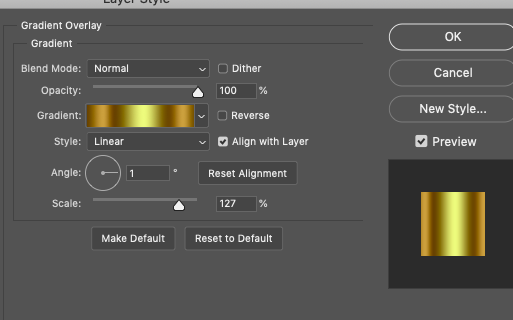
8. Go ahead and play around with different gradients by using the dropdown selection. You can also customize the opacity, angle, scale, and style all on the same window.
9. Once satisfied, go to the left sidebar of the Layer Style window (which you should still be on) and click on “Bevel and Emboss”.

Once there, go ahead and play with the various customizations. By adding a bevel/emboss effect, it gives the text a more 3-D feel. When you’re happy with the results, go ahead and click “okay” to close the window. Your text should now look like this:

10. Annnnd you’re done! Go ahead and give yourself a huge pat on the back
11. BONUS: There’s something about mock 3D covers that just adds a whole new level. My favorite free site to generate 3D mocks is DIYbookcovers.com. You can generate paperbacks, hardcovers, ebooks, and multiple combinations.


I like how detailed this tutorial is.
LikeLiked by 1 person