

Hello Lovely People! It’s been crazy times–who would’ve thought 2020 would end up like this . . . Which is why a book cover design project is the ~perfect~ distraction from the madness going on out in the world. Last week, I had a blast creating this mock cover for Franchesca Tacchi’s urban fantasy ASHES TO ASHES. And, if you haven’t checked it out already, I did another tutorial for a sci-fi cover in an older post, which you can find here.
In this tutorial, you’ll learn how to:
- Make an something look like it’s on ~fire~
- Create a textured background
- Create a neon effect
Some of my favorite sites to source free pictures good for commercial use are:
Some useful sites you might need:
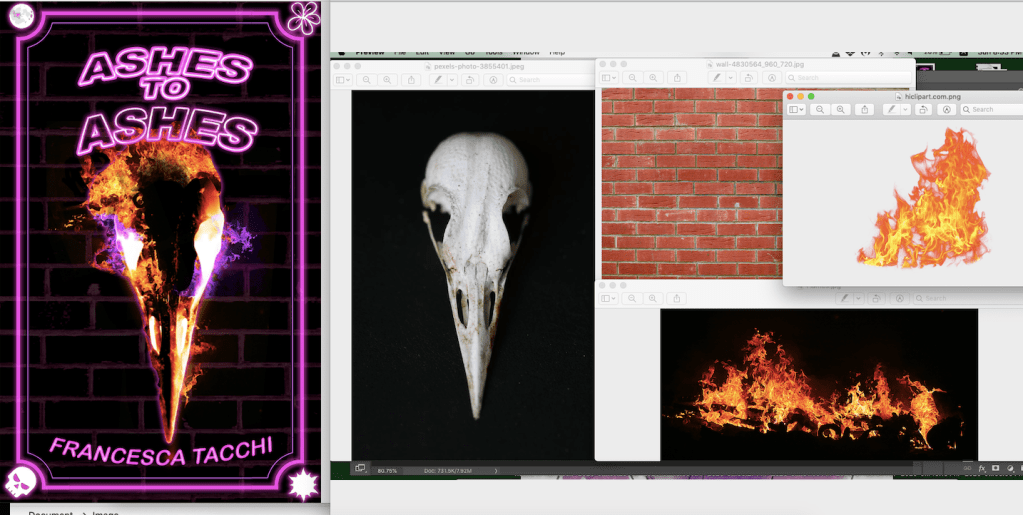
And while I chose to use a brick texture with a raven skull for the main components of this cover, you are free to swap them out with whatever suits your fancy. Without further ado, let’s get started!
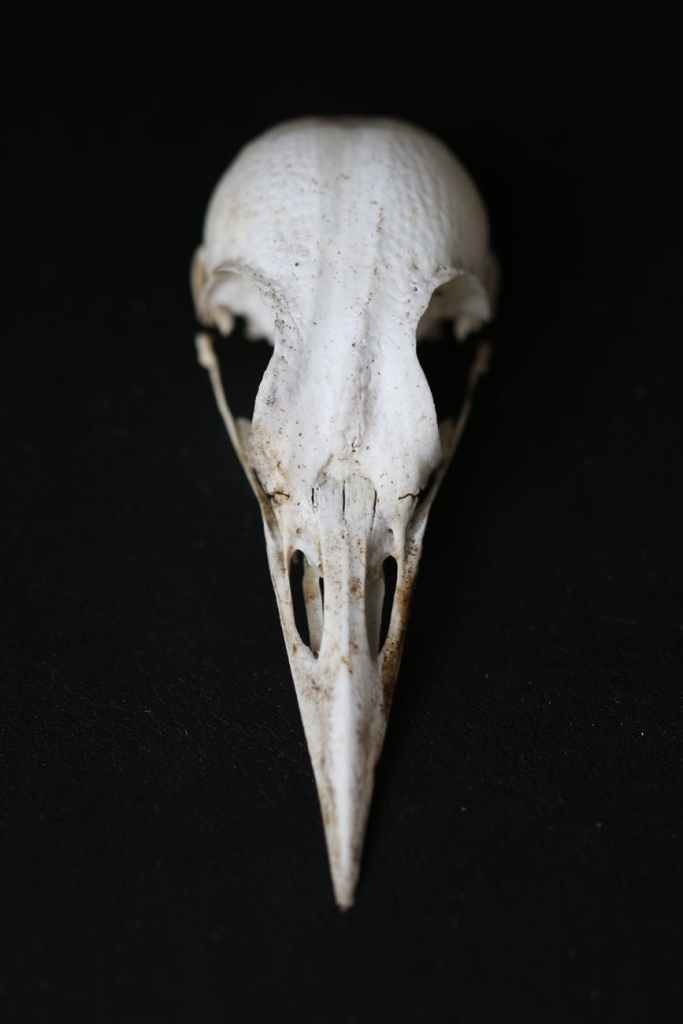
- First, I downloaded this lovely raven skull image from Pexels.
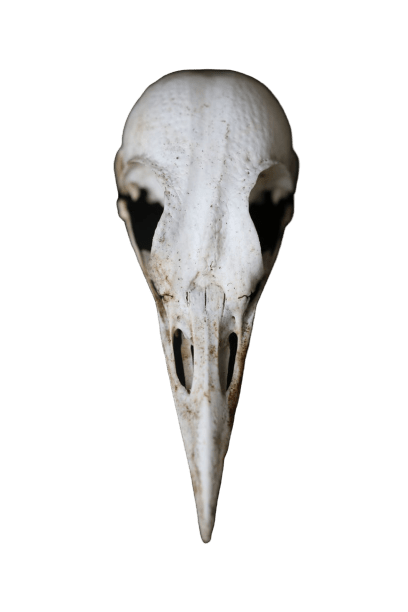
2. I then used an online background remover to get rid of the black background behind the skull and saved the new picture as a .png.
3. Then I followed this simple YouTube tutorial to create the flaming effect. Please note that you will have to download flame pictures to use (provided in the video’s description).
4. Because the raven’s eye socket glowed with purple fire, I used the magic wand tool to select the flames in that area, and then adjusted the color hue of the selection until I achieved that purple coloration. Make sure to clip that layer adjustment to the selected area so you don’t turn everything purple.
5. Next, I created a new Photoshop file and set the canvas size to 1600 px (height) by 1000 px (width). Set the background color to black.
6. Drop the raven skull image onto the blank canvas and position it to where you want it.

7. Select the skull layer and give it an “outer glow” (I choose a purple-pink outer glow to match with my color scheme).
8. Create a new layer and type in the book title. Keep in mind to select a nice, rounded font, or somewhat thick font that would work well with a “neon” look. I decided to add a nice little arc to my title as well. (I used the Arial Black font)
9. Create a new layer and do the same with the author’s name. (I used the Arial Rounded font)
10. For my title font, I created an “outlined neon” effect by following this YouTube tutorial.
11. For my author font, I created a “neon tube” effect by following this other YouTube tutorial.

12. Wanting to maintain that neon/graffiti vibe, I chose to texture my background with a brick wall. From Unsplash, I downloaded this lovely brick wall photo. Note: I actually ended up adding my textured background at the very end, when I realized I wanted some more dimension to the cover. But it makes more sense to do the background now instead of later.

13. Back in Photoshop, I added this brick wall image as its own layer at the very top. In layer adjustment, I adjusted it to “black and white” and gave it that same purple-pink “tint” I’ve been using. Again, make sure to clip this adjustment to the brick wall layer only.

14. Make sure the texture image covers all of the canvas (you shouldn’t see anything beneath this picture). Then, follow this tutorial to fade this image into a background texture.
15. At this point, I knew I wanted to add a simple clip art border and some embellishments to the cover. So, I saved the file as a .png and then hopped over to Canva, where I uploaded my saved .png to edit. Canva is pretty intuitive to use. Under the “elements” section on the left hand column, I searched up “rectangular border” and found one I liked, which I clicked and dragged onto my cover. I changed to the color from white to pink-purple. Wanting to add a little more detail, I searched up a simple moon, sun, skull, and flower clip art and placed those in the corners. I made all the decoration images white/gray. Save the file once more as a .png.

16. Open up the Canva-modified .png as a separate file. Using the magic wand tool, select all of the border (I only chose to do the outer, thicker border) and create a new layer from the selection. Apply the neon effect to the selected border via the same tutorial used with the author text.
17. Back on the original .png layer, select the little corner embellishment images, then create a new layer from the selection. Add an “outer glow” effect to this layer. And you’re done!

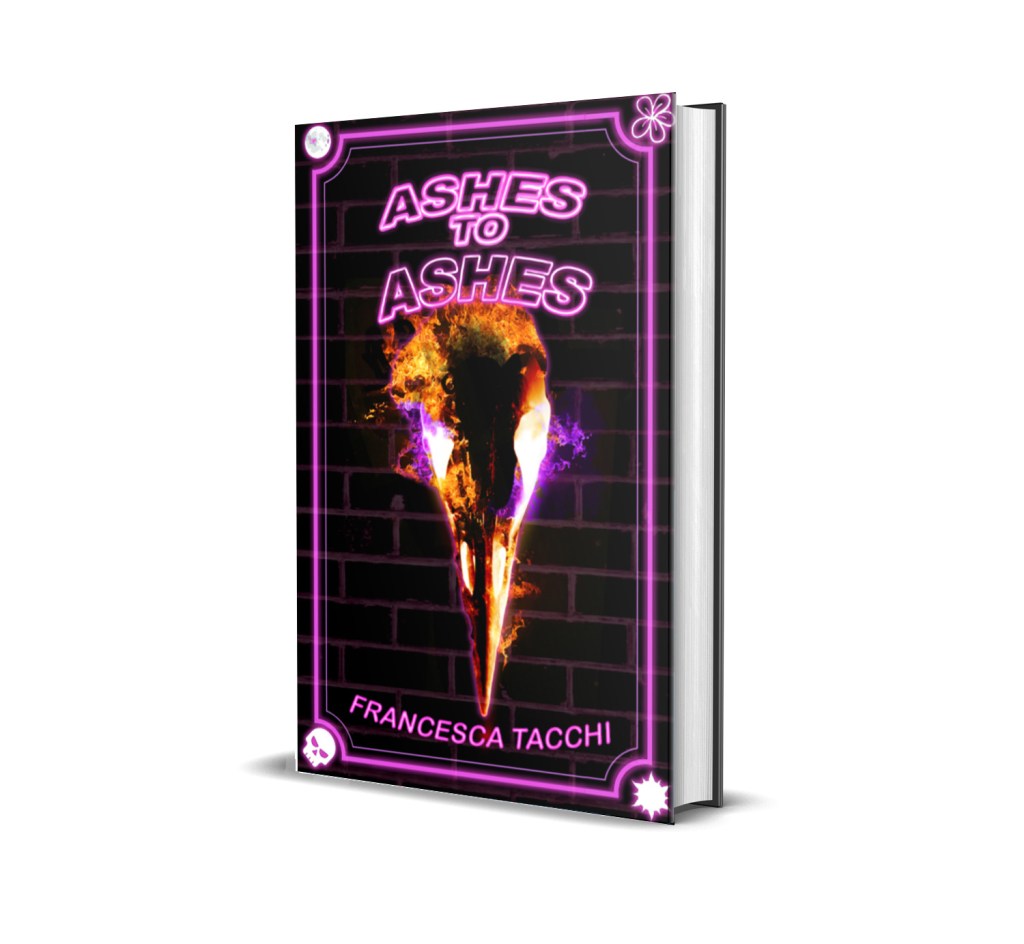
18. After saving my cover as a .png, I then uploaded it to this 3D cover creator site to get these lovely images.
Bonus: Like any design, I went through a couple layout iterations before finalizing one. I’d originally used a “smoke brush” in Photoshop to create a smokey effect, but ended up abandoning it in favor of the cleaner brick wall version.

