


Confession time: I don’t like throwing away pretty stuff. This extends to calendars.
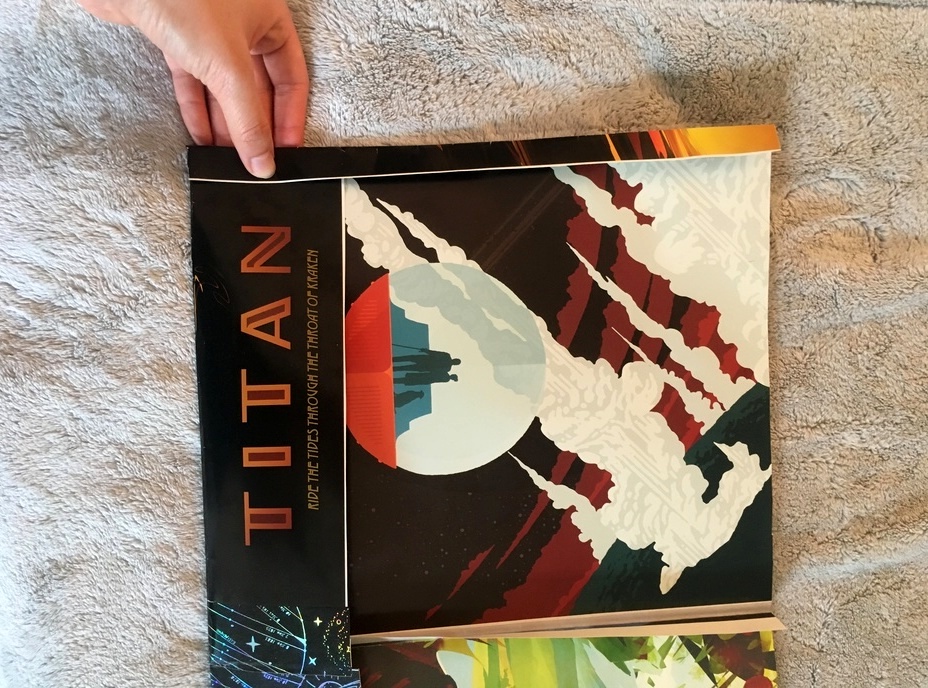
And I definitely don’t like throwing away super awesome space tourism posters from my 2018 calendar I impulse bought at a bookstore. (No regrets. While I can’t find the calendar, I was able to find the amazing graphics featured within here.) Anyway, with the stack of pretty pages on my desk for far too long and far too much time on my hands (thanks, lockdown!), I decided to get busy and see how I could repurpose those pages.

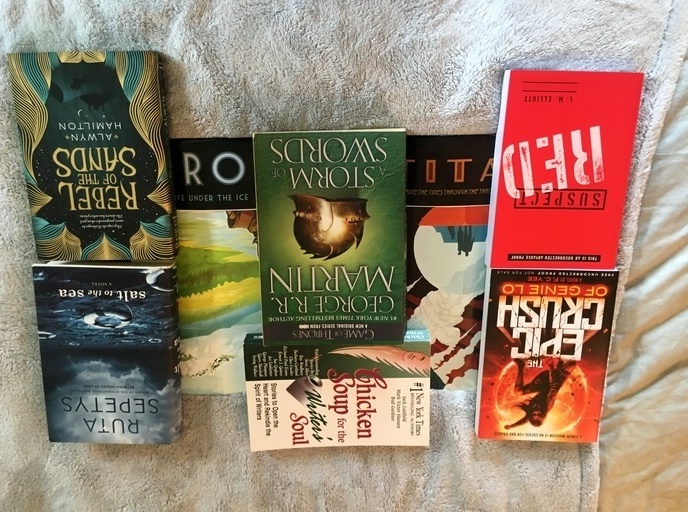
While ended up using a couple sheets to create book covers for my sketch pads (right, in the pic above), my favorite repurpose ended up being the folders (left and center). Without further ado, here’s what you’ll need to make these calendar folders:
- Glue
- Scissors
- 2 calendar sheets cut to the same size (or height, at least)
- Keep in mind this project works best with large calendar sheets several inches bigger than an A4 paper and are made of a sturdy material
- Tape at least 1.5″ in width
- Can be duct tape, packaging tape, or more decorative tape

- Place your two sheets side by side and apply a piece of tape down the center.

2. Fold the sheet in half…it kinda looks like a book or notebook 🙂

3. Open the folder back up and lay a piece of A4 paper to use as a guideline. Fold the bottom of the folder up to achieve desired pocket deepness.

4. Snip down the centerline of the folder to separate the two pockets. Next, cut about 0.25″ – 0.5″ along the outer edge of bottom crease of the pocket. You’ll be left with a short flap near the bottom of the folder and a longer flap above. Fold in the newly created lower flap as seen above. Repeat on the other side.
5. Fold the pocket back up and crease in the remaining flap. Repeat on other side.

6. Apply glue along the lower flap, making sure to get the edges. Repeat on other side.

7. Apply glue along the upper flap, also making sure to hit the edges. Repeat on other side.

8. Fold the pockets back into shape. If desired, glue down the inner flaps (located at the center line of the folder) of the pockets. Secure any other loose flaps if you wish (I glued down the excess paper along my center line). Firmly press down along all flaps with glue.
9. Place the folder on a flat surface and weigh down the glued portion with some good ol’ fashioned books. Wait a couple hours for the glue to dry–then you’re done!
